Strawberry Sugar Cookie Ornaments

Equipment:
One or two large 13 x 18” baking sheets, parchment paper, stand mixer to make royal icing

Total Time:
10 Minutes

Makes:
Approximately 4 dozen 2.5” cookies

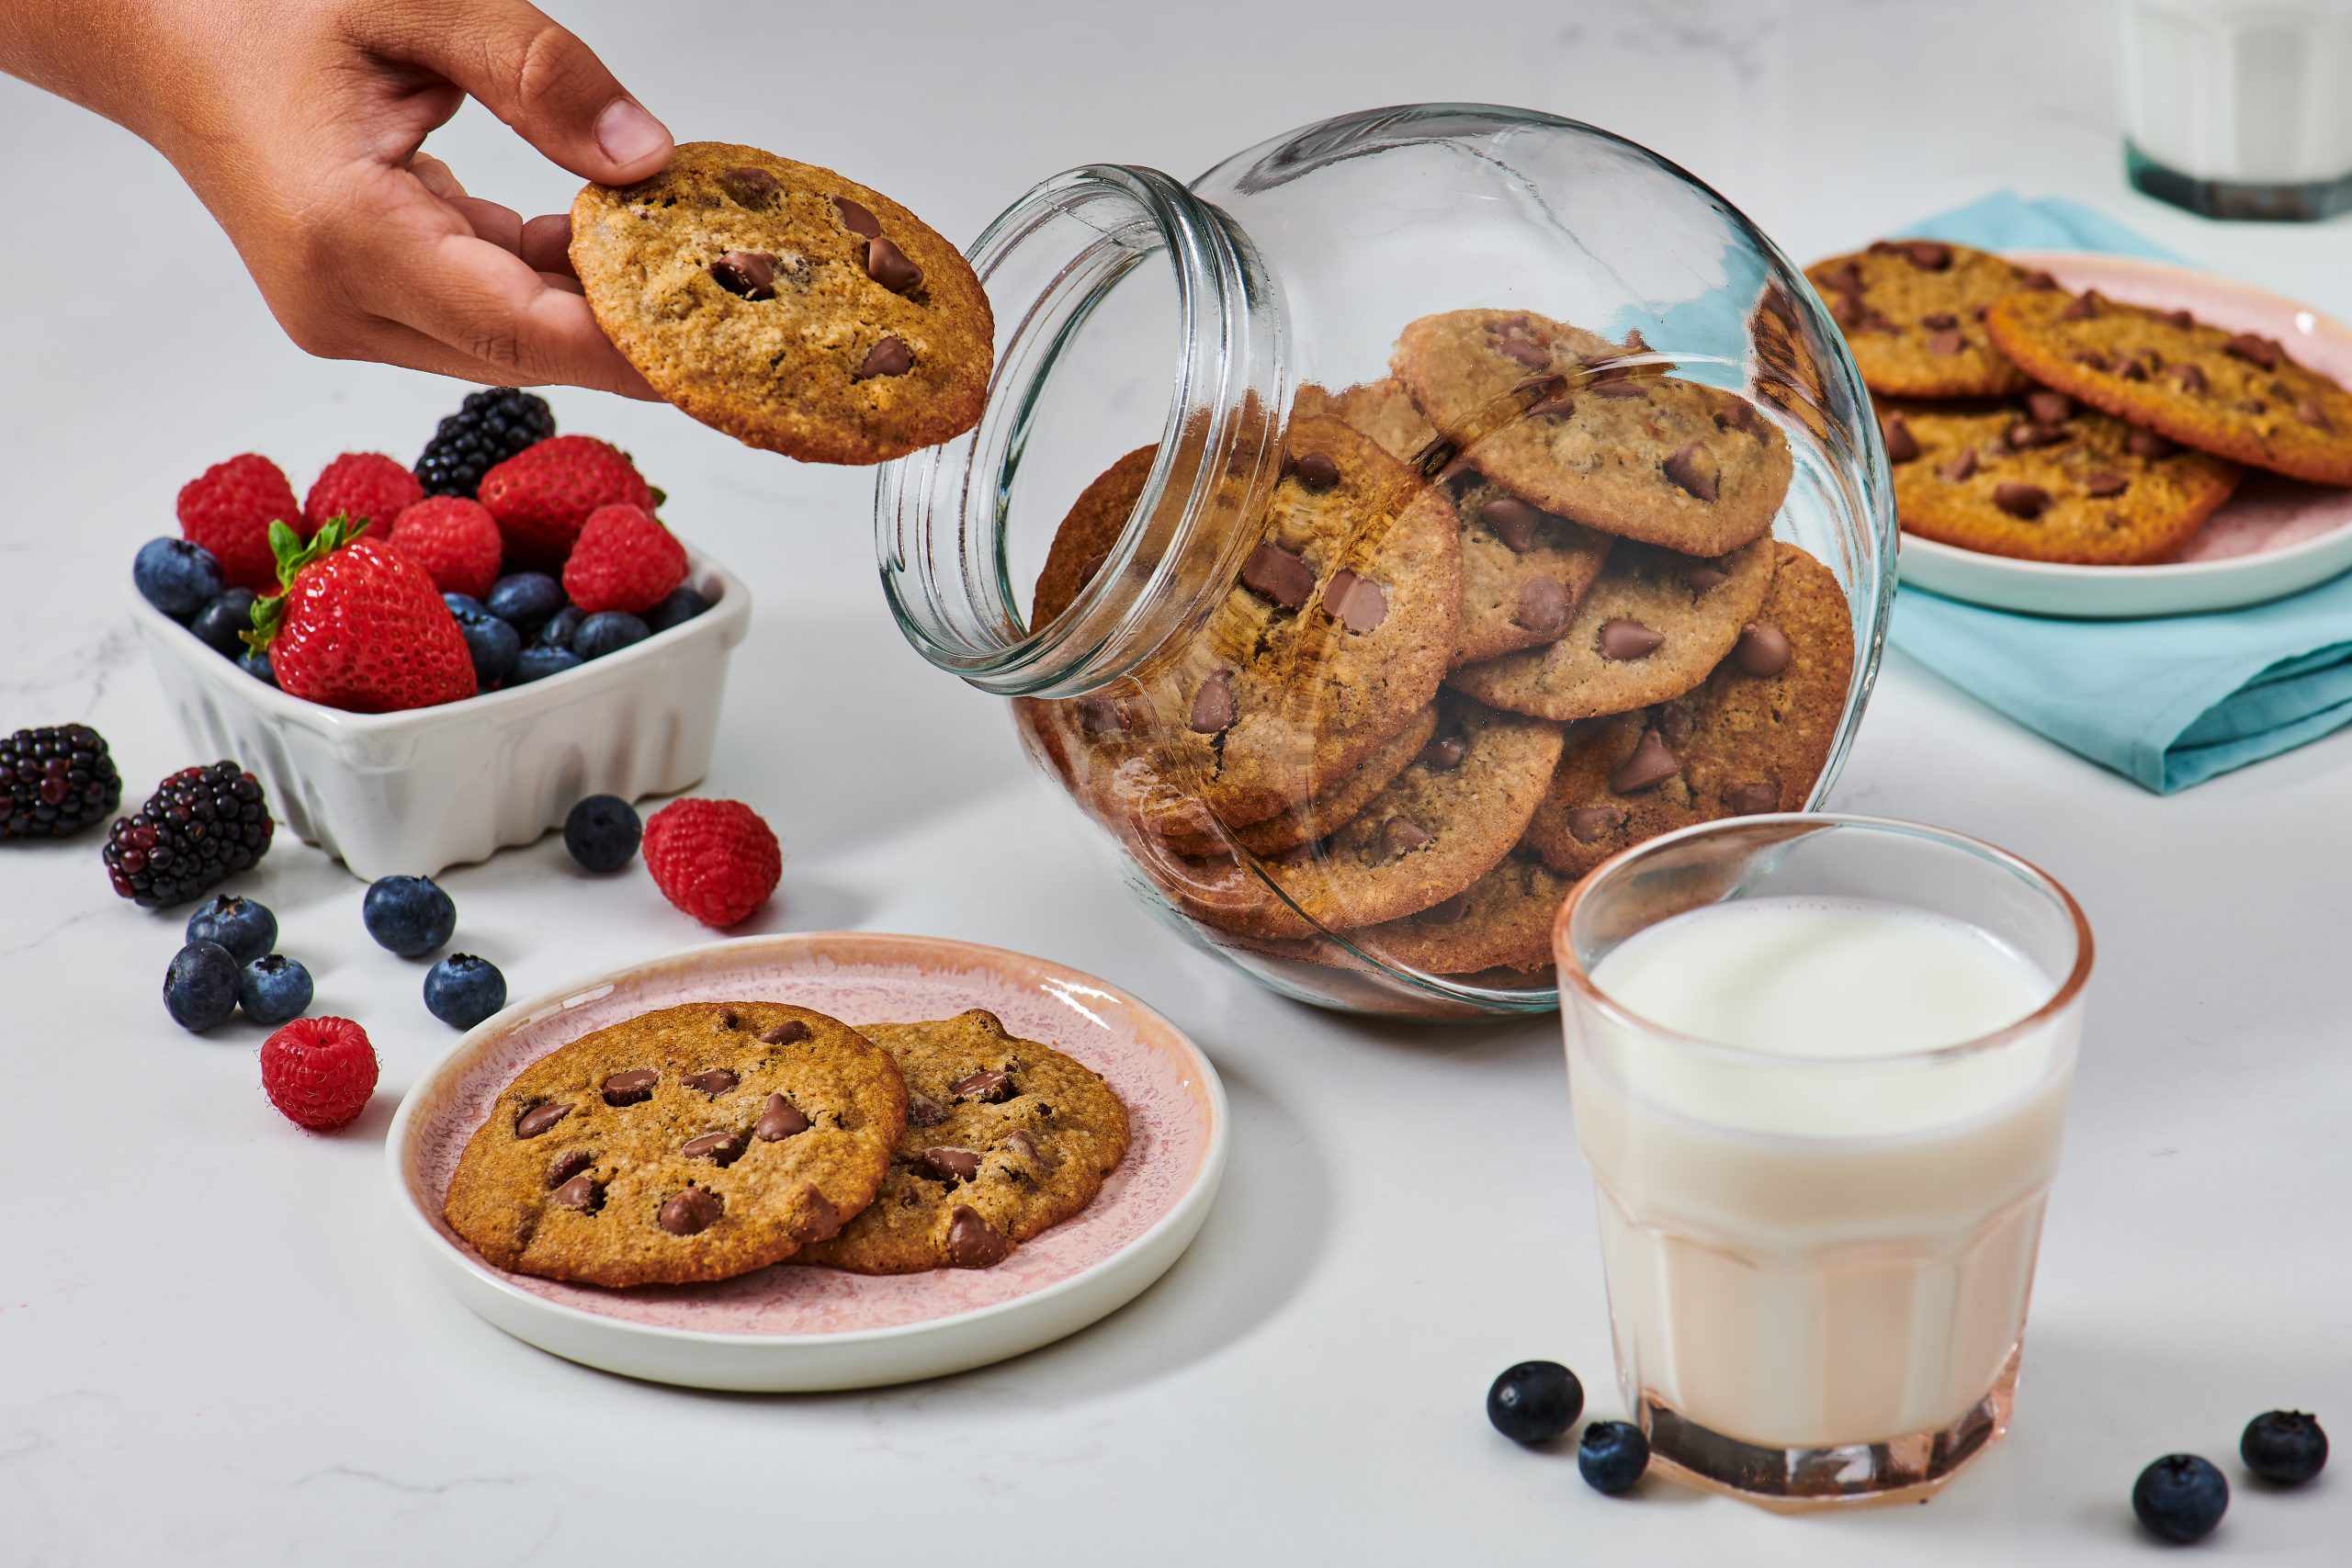
These sugar cookies have a subtle strawberry flavour that will become your new favourite sugar cookie recipe!

Ingredients

  • 1 pouch GoGo squeeZ® Apple Strawberry fruit sauce
  • ½ cup unsalted butter, room temperature
  • 1 cup granulated sugar
  • 1 egg
  • 3 cups all-purpose flour, plus more for dusting
  • ½ teaspoon baking powder
  • ½ teaspoon salt
  • Royal Icing:
  • 3 tablespoons meringue powder
  • 3 cups icing sugar
  • 3 tablespoons warm water, plus 1-2 tbsp more as needed
  • 1 teaspoon clear vanilla extract
  • 1 tablespoon clear corn syrup
  • Pinch of salt
  • Gel food colouring, as desired

Directions

1
In a medium size mixing bowl using an electric mixer, beat butter and sugar together until pale and fluffy. Add egg beat until combined. Add in pouch of fruit sauce and beat again until well combined. Set aside.
2
In a separate bowl whisk together flour, baking powder, and salt.
3
With mixer on low speed, gradually add flour to the wet batter, mixing just until combined, do not overmix as dough will get tough and elastic.
4
Shape dough into two flat discs and cover in plastic wrap and chill for at least 30 minutes in fridge.
5
Preheat oven to 350°F. Line a large baking sheet with parchment paper.
6
Roll dough out on a lightly floured surface or between two sheets of parchment paper until it is ¼” thick. Cut out shapes and use a straw to make a hole for a string to hang ornament (if desired) and place on baking sheet.
7
Bake for 10-12 minutes until bottom edges are slightly brown. Remove from oven and transfer to a wire rack to cool completely.
8
Royal Icing: To make the royal icing make sure all equipment is grease-free, dissolve the meringue powder in 3 tablespoons of warm water.
9
Once dissolved add to bowl of stand mixer along with remaining ingredients, add more water as needed, one tablespoon at a time.
10
Start on low speed then mix on high for 5 minutes until stiff peaks form, the consistency should be like toothpaste for outlining.
11
Divide icing into separate bowls depending on how many colours you want to make. Add a few drops of food colouring to each bowl and mix well to create desired colours.
12
Take each colour and divide in half, you will need two consistencies of each colour, one for details and outlining, the other to flood the cookie with icing. For flooding add 1 tsp. of water at a time to thin the icing so it spreads easily but not too fast.
13
*TIP* when swirled it should make ridges but then smooth out after 10-12 seconds, this is called 10 second icing for flooding.
14
Using piping bags or small zip-tight bags fill with each icing. Begin by outlining the cookies and add any details you desire and then flood the cookies to fill them in. Use a toothpick to push the icing around to fill any holes. You can add sprinkles or other fun details while the icing is still wet. Once decorated allow the cookies to dry for at least 8 hours until the icing is hard. Once dry you can also add more details on top and dry again another 8 hrs.
15
Store in an airtight container for one week or freeze up to 3 months.
16
*TIP* icing will dry out quickly and a crust will form, always keep in plastic, or cover with a damp paper towel.